Gluten-Free Sourdough Bread
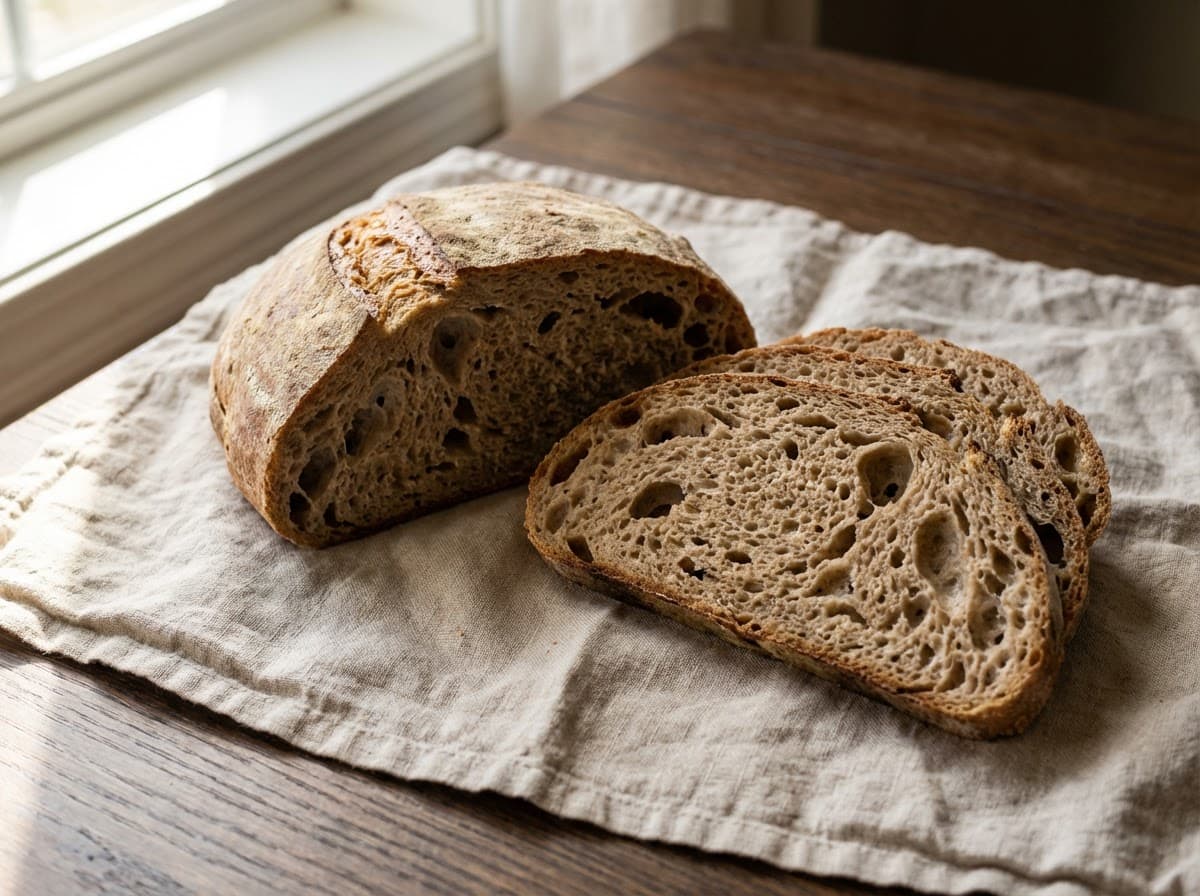
Gluten-free sourdough requires a completely different mindset than wheat sourdough. There's no gluten network to develop, so psyllium husk does the structural work instead. The result is a loaf with real sourdough tang, a proper crust, and a crumb that holds together for sandwiches. It won't be identical to wheat bread -- but it'll be the best GF bread you've had.
Ingredients
- 250gbrown rice flour(50%)
- 125gtapioca starch(25%)
- 75gpotato starch(15%)
- 50goat flour (certified GF)(10%)-- adds flavor and binding
- 25gpsyllium husk powder(5%)-- whole husks don't work -- you need the powder
- 150gactive gluten-free sourdough starter-- maintained with brown rice flour, fed 6-12 hours prior
- 375gwarm water(75%)
- 15ghoney(3%)-- feeds the starter in the dough
- 20golive oil(4%)
- 10gsalt(2%)
Instructions
- 1
Whisk together the brown rice flour, tapioca starch, potato starch, oat flour, psyllium husk powder, and salt in a large bowl.
- 2
In a separate bowl, combine the warm water, active GF starter, honey, and olive oil. Stir to dissolve the starter.
- 3
Pour the wet ingredients into the dry and mix with a spatula or stand mixer on low for 2-3 minutes. The batter will be thick -- somewhere between a dough and a batter. It won't look or feel like wheat dough, and that's exactly right.
Don't try to knead this. There's no gluten to develop. Mixing is just about hydration and homogenization.
- 4
Let the mixture sit for 10 minutes. The psyllium husk will absorb water and the batter will thicken considerably into a scoopable consistency.
- 5
Transfer the dough to a greased 22x12cm (9x5") loaf pan. Wet your hands or a spatula and smooth the top. The dough should fill the pan about two-thirds full.
- 6
Cover with a damp towel or plastic wrap. Ferment at room temperature for 6-10 hours. GF starters are often slower than wheat starters, so be patient. The dough should rise by about 50% and look slightly domed.
GF dough doesn't have the visual cues of wheat dough (bubbles on surface, domed shape). Watch for a 50% size increase and tiny bubbles at the edges of the pan. That's your signal.
- 7
Preheat your oven to 220C (425F). Place an oven-safe dish of water on the bottom rack for steam.
- 8
Score the top of the loaf with a wet blade -- a single slash down the center works well. Wet the blade between cuts.
- 9
Bake for 15 minutes at 220C (425F) with steam, then remove the water dish and reduce temperature to 190C (375F). Bake for another 40-50 minutes until the crust is firm and the internal temperature reaches 96C (205F).
- 10
Remove from the pan immediately and cool completely on a wire rack. This takes 3-4 hours minimum. GF bread is even more prone to gummy centers when sliced hot. Let it cool completely, then slice with a sharp serrated knife.
Tips
Psyllium husk powder is the structural backbone of this bread. It replaces gluten by forming a gel that traps gas and holds the crumb together. Whole husks don't hydrate properly -- you need the powder. Brands vary in absorption, so you may need to adjust water by 20-30g.
A GF sourdough starter is maintained exactly like a wheat one, but with brown rice flour and water. It takes 7-14 days to establish. Don't use a wheat starter for this recipe -- cross-contamination defeats the purpose.
This bread improves dramatically when toasted. The crust crisps up and the crumb firms. If you're underwhelmed by the first slice, toast the second.
Slice the entire loaf once cooled and freeze what you won't eat in 2 days. GF bread stales faster than wheat bread. Toast directly from frozen.
Every GF flour blend behaves differently. If this recipe is too dense with your flours, increase the water by 25g next time. Too crumbly means more psyllium (try 30g). Expect to make this 2-3 times to dial it in for your specific ingredients.