How to Feed Your Sourdough Starter
Feeding your starter is the single most fundamental skill in sourdough baking. Get this right and everything else gets easier. Get it wrong and you'll chase problems through every loaf you make. The good news: it's dead simple once you understand what's actually happening in that jar.
What feeding actually does
Your sourdough starter is a colony of wild yeast and bacteria living together in a paste of flour and water. They eat the sugars that enzymes break down from the starch in your flour. When they run out of food, fermentation slows, acidity spikes, and the whole system goes dormant.
Feeding is just giving them fresh food. You're adding new flour and water so the yeast can produce CO2 (that's the rise) and the bacteria can produce lactic and acetic acid (that's the tang). The balance between these two groups is what makes your bread both fluffy and flavorful.
Think of your starter as a tiny version of your bread dough -- because that's exactly what it is. Your dough is just a giant starter with salt added. The health and balance of your starter carries directly into your bread. A sluggish, overly sour starter makes sluggish, overly sour bread.
The feeding ratio that actually works
Use a 1:5:5 ratio. That's 1 part old starter, 5 parts fresh flour, 5 parts fresh water, all by weight. So: 10g starter, 50g flour, 50g water.
You'll see a lot of people recommend 1:1:1 (equal parts everything). Skip that. A 1:1:1 ratio dumps way too much old, acidic starter into the fresh food. It's like trying to start a new garden by covering it in compost three feet deep -- the environment is too hostile for healthy regrowth. The only time 1:1:1 makes sense is during the first few days of creating a brand new starter, when you need that acidity to fight off bad microbes.
If your starter hasn't been fed in a while and smells like it could strip paint, go even wider -- 1:10:10. This gives your microbes a completely fresh playing field to rebalance. The less old starter you carry over, the cleaner the environment for the next generation.
Step by step: how to feed
Grab a clean jar. Scoop about 10g of your existing starter into it. Add 50g of flour and 50g of water. Stir until there are no dry clumps left. Cover loosely -- you want some gas exchange but not a dried-out crust. A jar with an inverted lid or a loose screw-top works great.
That's it. The measurements don't need to be exact to the gram. You can eyeball it once you've done this a few times. What matters is the rough ratio, not hitting 50.0g on the dot.
One thing that does matter: don't use chlorinated water. Chlorine is specifically designed to kill microorganisms, and that's exactly what you're trying to grow. If your tap water is chlorinated, use filtered or bottled water. In many European countries, tap water is fine. If you're unsure, fill a pitcher and let it sit uncovered for 12-24 hours -- the chlorine will dissipate on its own.
When to feed before baking
Feed your starter 6-12 hours before you plan to mix your dough. You want to catch it when it's active and bubbly but hasn't collapsed yet -- that's peak activity, and that's when your yeast-to-bacteria balance is best for bread.
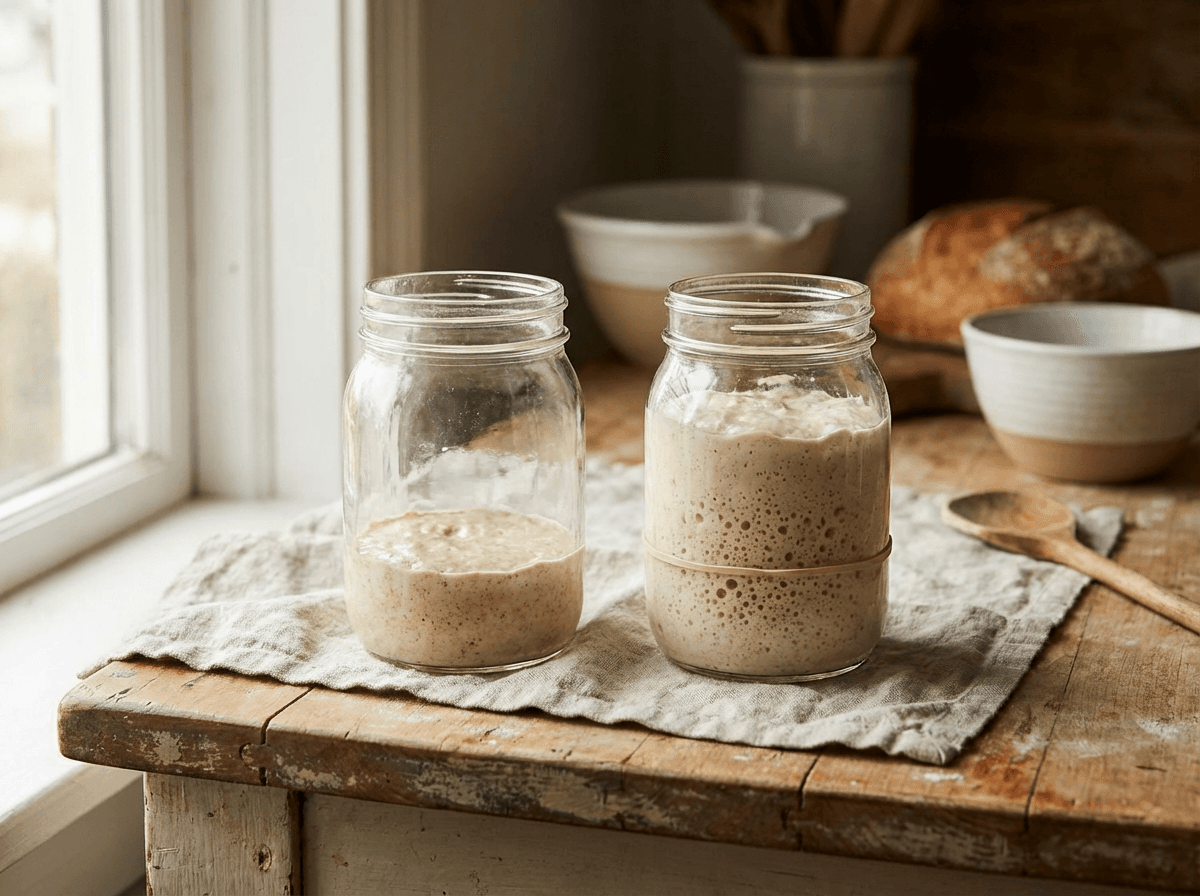
How do you know it's ready? Look for bubbles on the surface and along the sides of the jar. Use your nose -- it should smell pleasantly sour, like yogurt or mild vinegar, not like acetone or nail polish remover. The starter should have visibly increased in size, though the exact amount depends on your flour. Wheat starters rise more than rye starters because wheat has more gluten to trap gas. That doesn't mean the rye starter is less active.
The float test -- dropping a spoonful of starter in water to see if it floats -- is one of the most repeated pieces of advice online. It's also mostly useless. It works okay for wheat starters but fails completely for rye. Watch for consistent size increase and bubbles instead. That's your real signal.
Signs of a healthy starter
A healthy starter doubles (or more) within 4-8 hours of feeding when using wheat flour. It has visible bubbles throughout -- not just on top but along the sides of the jar. It smells like yogurt, mild vinegar, or fresh sourdough. After peaking, it slowly deflates rather than collapsing suddenly.
The speed matters too. A very mature, well-established starter will peak faster than a young one. If your starter has been going for months with regular feedings, it might double in 3-4 hours. A brand new starter might take 12+ hours. Both are normal.
If you inherited or received a starter from someone else, it might already be very mature. These starters have microbes that have been selected over years to be extremely efficient at fermenting flour. Your fresh starter will catch up eventually, but it takes time. Each feeding makes it a little bit better.
Common feeding mistakes
Using too much old starter is the biggest one. A 1:1:1 ratio creates an acidic bomb that suppresses yeast activity. Your starter might still bubble, but the balance will be off and your bread will suffer -- too sour, not fluffy enough, poor rise.
Not feeding consistently is the second biggest mistake. If you're actively baking, feed once a day at room temperature. This keeps the yeast population strong. When bacteria dominate (which happens when you skip feedings), the starter becomes excessively acidic and the yeast goes dormant.
Using the wrong flour to start can also cause problems. Whole grain flour -- whole wheat, whole rye, whole spelt -- works best for creating a new starter because it carries more wild yeast and bacteria on the bran. White flour has less microbial contamination and can take much longer to get going. Once your starter is established, you can feed it whatever flour you want.
Finally, don't panic when your new starter rises on day 2-3 and then goes flat. That initial rise is bad microbes having a party. The good microbes are still tiny in number and growing. They'll take over within a week or two. Just keep feeding.